
When it came time to pull up the ancient it-was-yellow-once-very-very-long ago carpet in the dining room and put down hardwood floors, I did a bit of math. What I figured out was that there was a very good chance I would spend less money by outright buying a flooring nailer over renting one. The equation hinged on finding a solid but inexpensive nailer.
Finding the nailer turned out to be easy: a NuMax 3 in 1 Flooring Nailer. Fantastic value for the money, exceeded expectations. The only thing missing was a case for the tool. Nothing to complain about at the low price point, but I really did want a case.
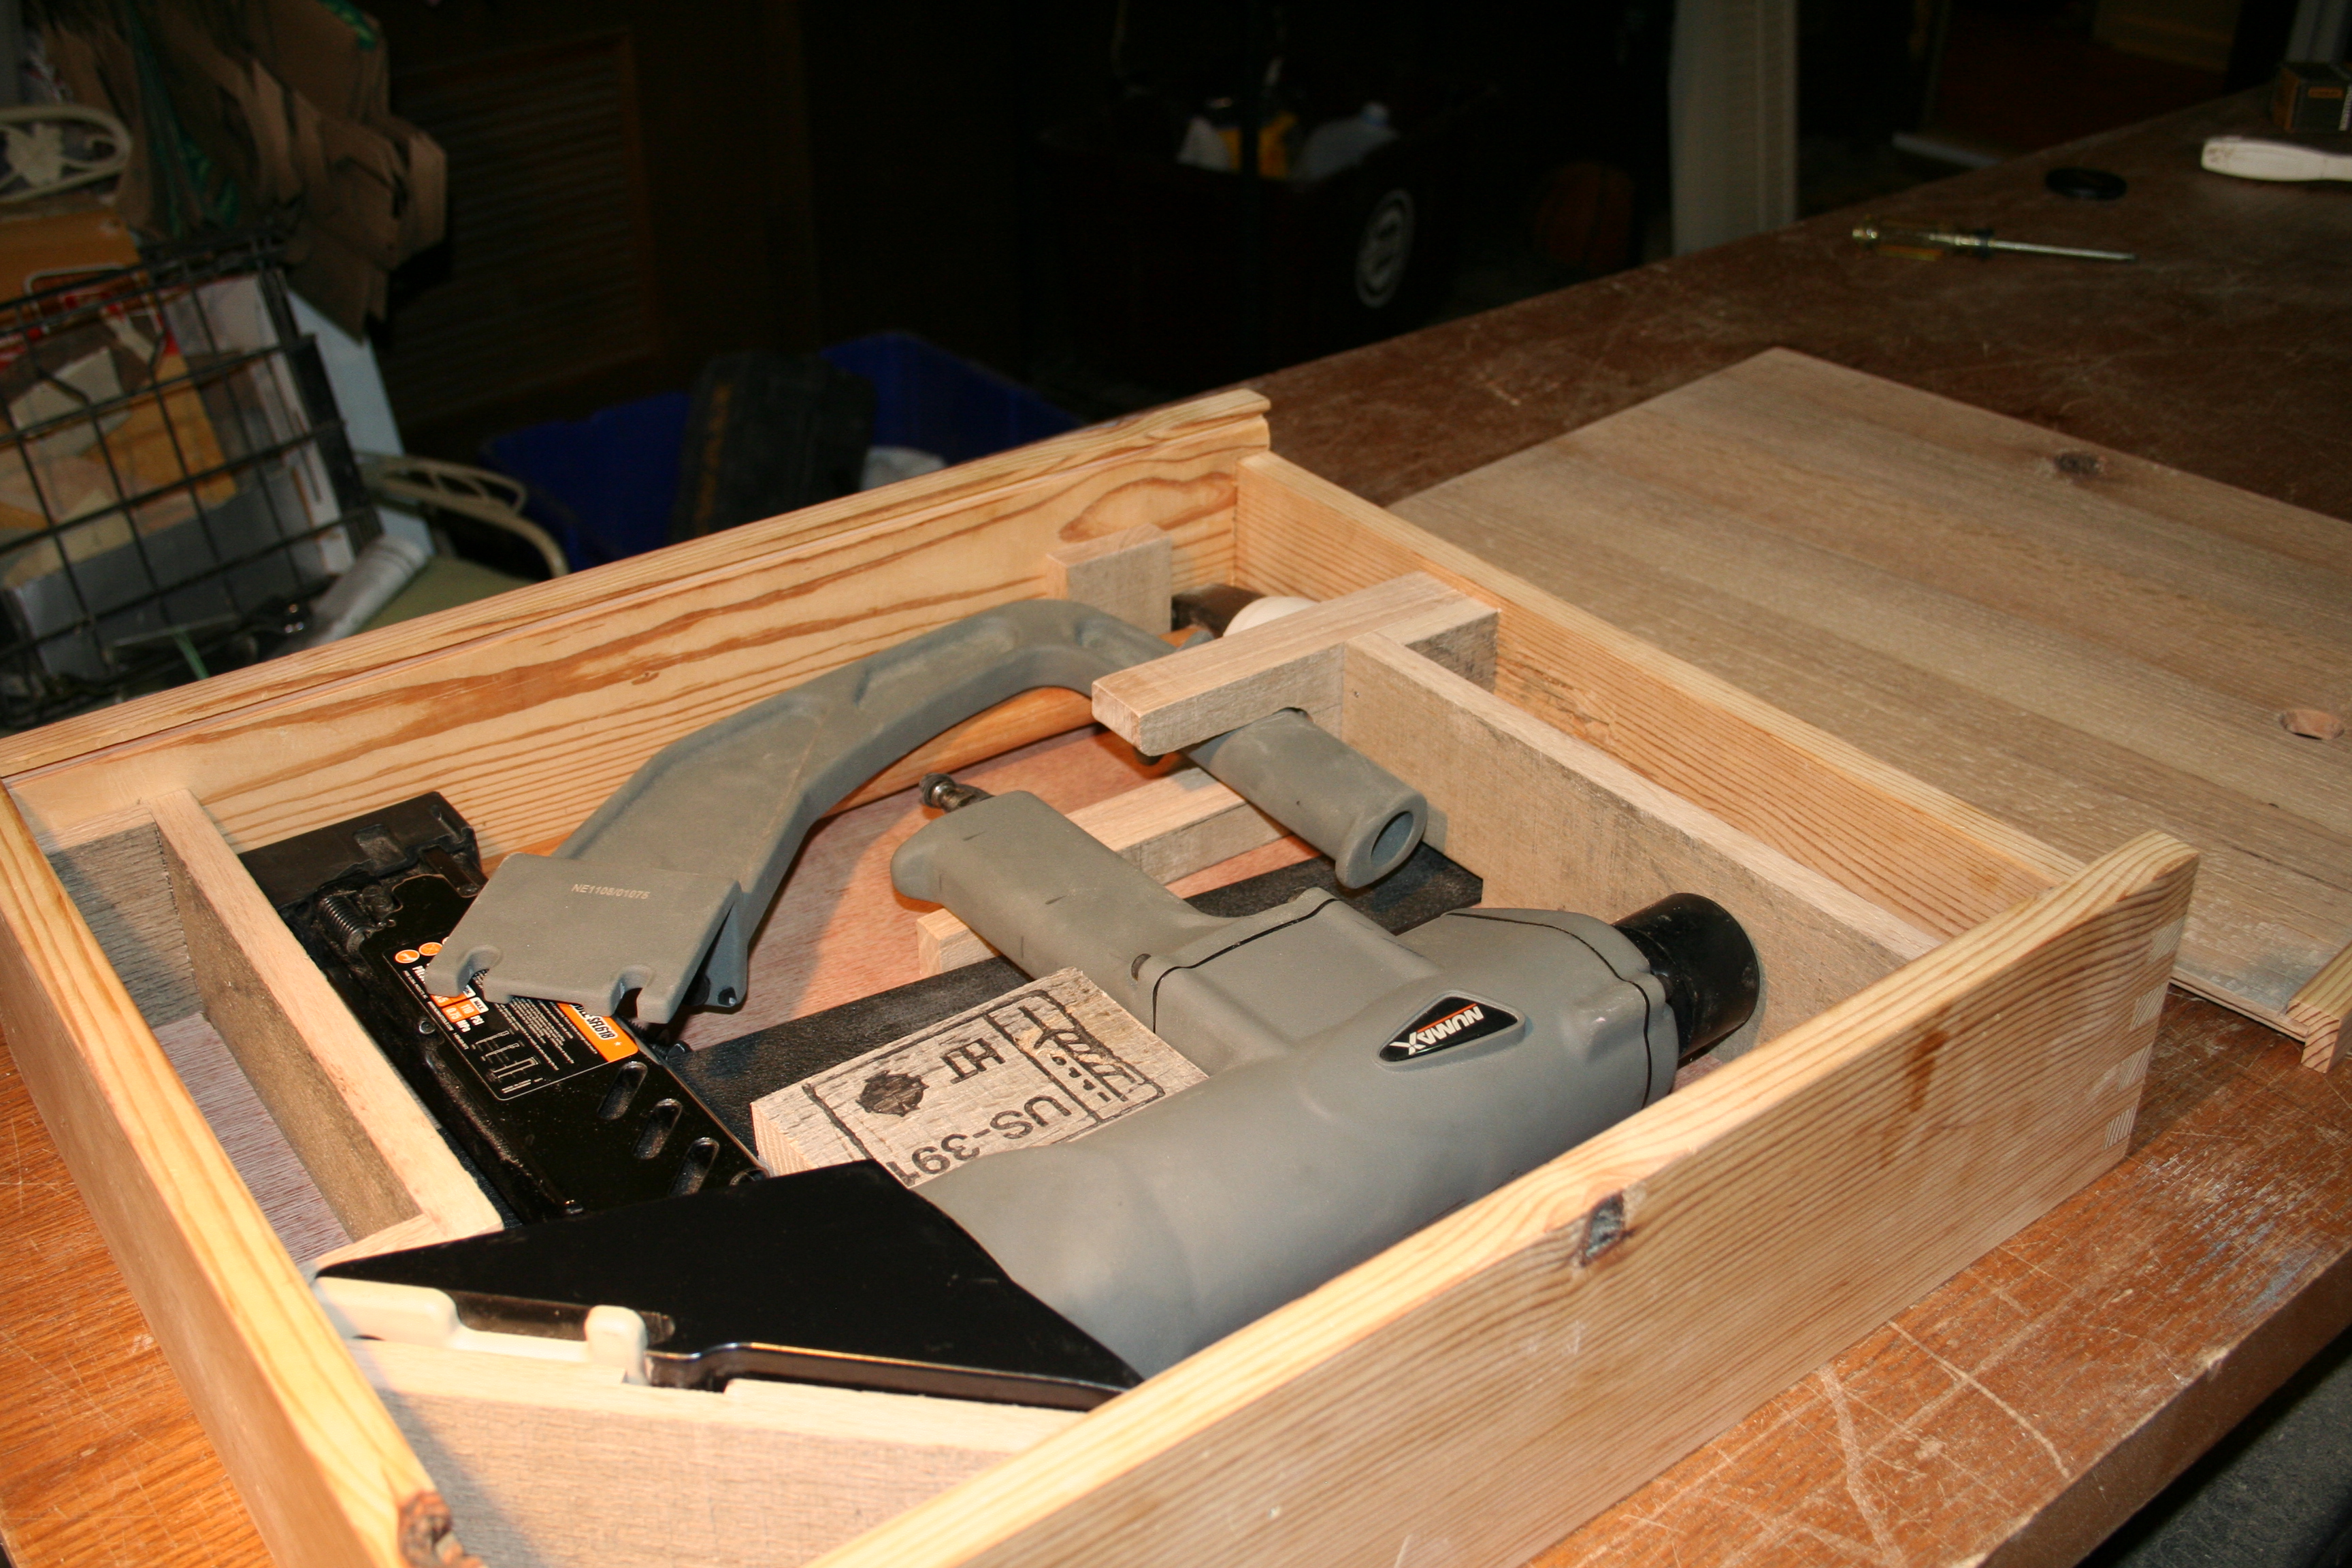
I had a rough idea of what the broken down tool would look like in a box. Along with the tool, I wanted to be able to store some of the extras like the pull bar and at least one box of cleats in the case, something similar to this layout:

I had the board seen in the picture above, a nice piece of pine salvaged from my in-law’s house. That alone wouldn’t get a custom box built, but my neighbor happened to have sod put down in his yard, leaving a salvageable pallet:

First step was building the frame, using box joints. The downside here was using an antique, dull as a butter knife dado set to try to cut the fingers. I might as well have given a tribe of beavers some angel dust and set them loose. The tear-out on the fingers was horrible. If this was anything except an working experiment, it would have been a sign to start over. That said, the box joints still fit well and the glue up went smoothly:

Having the basic frame in place, I was still working out how the pieces would fit in:

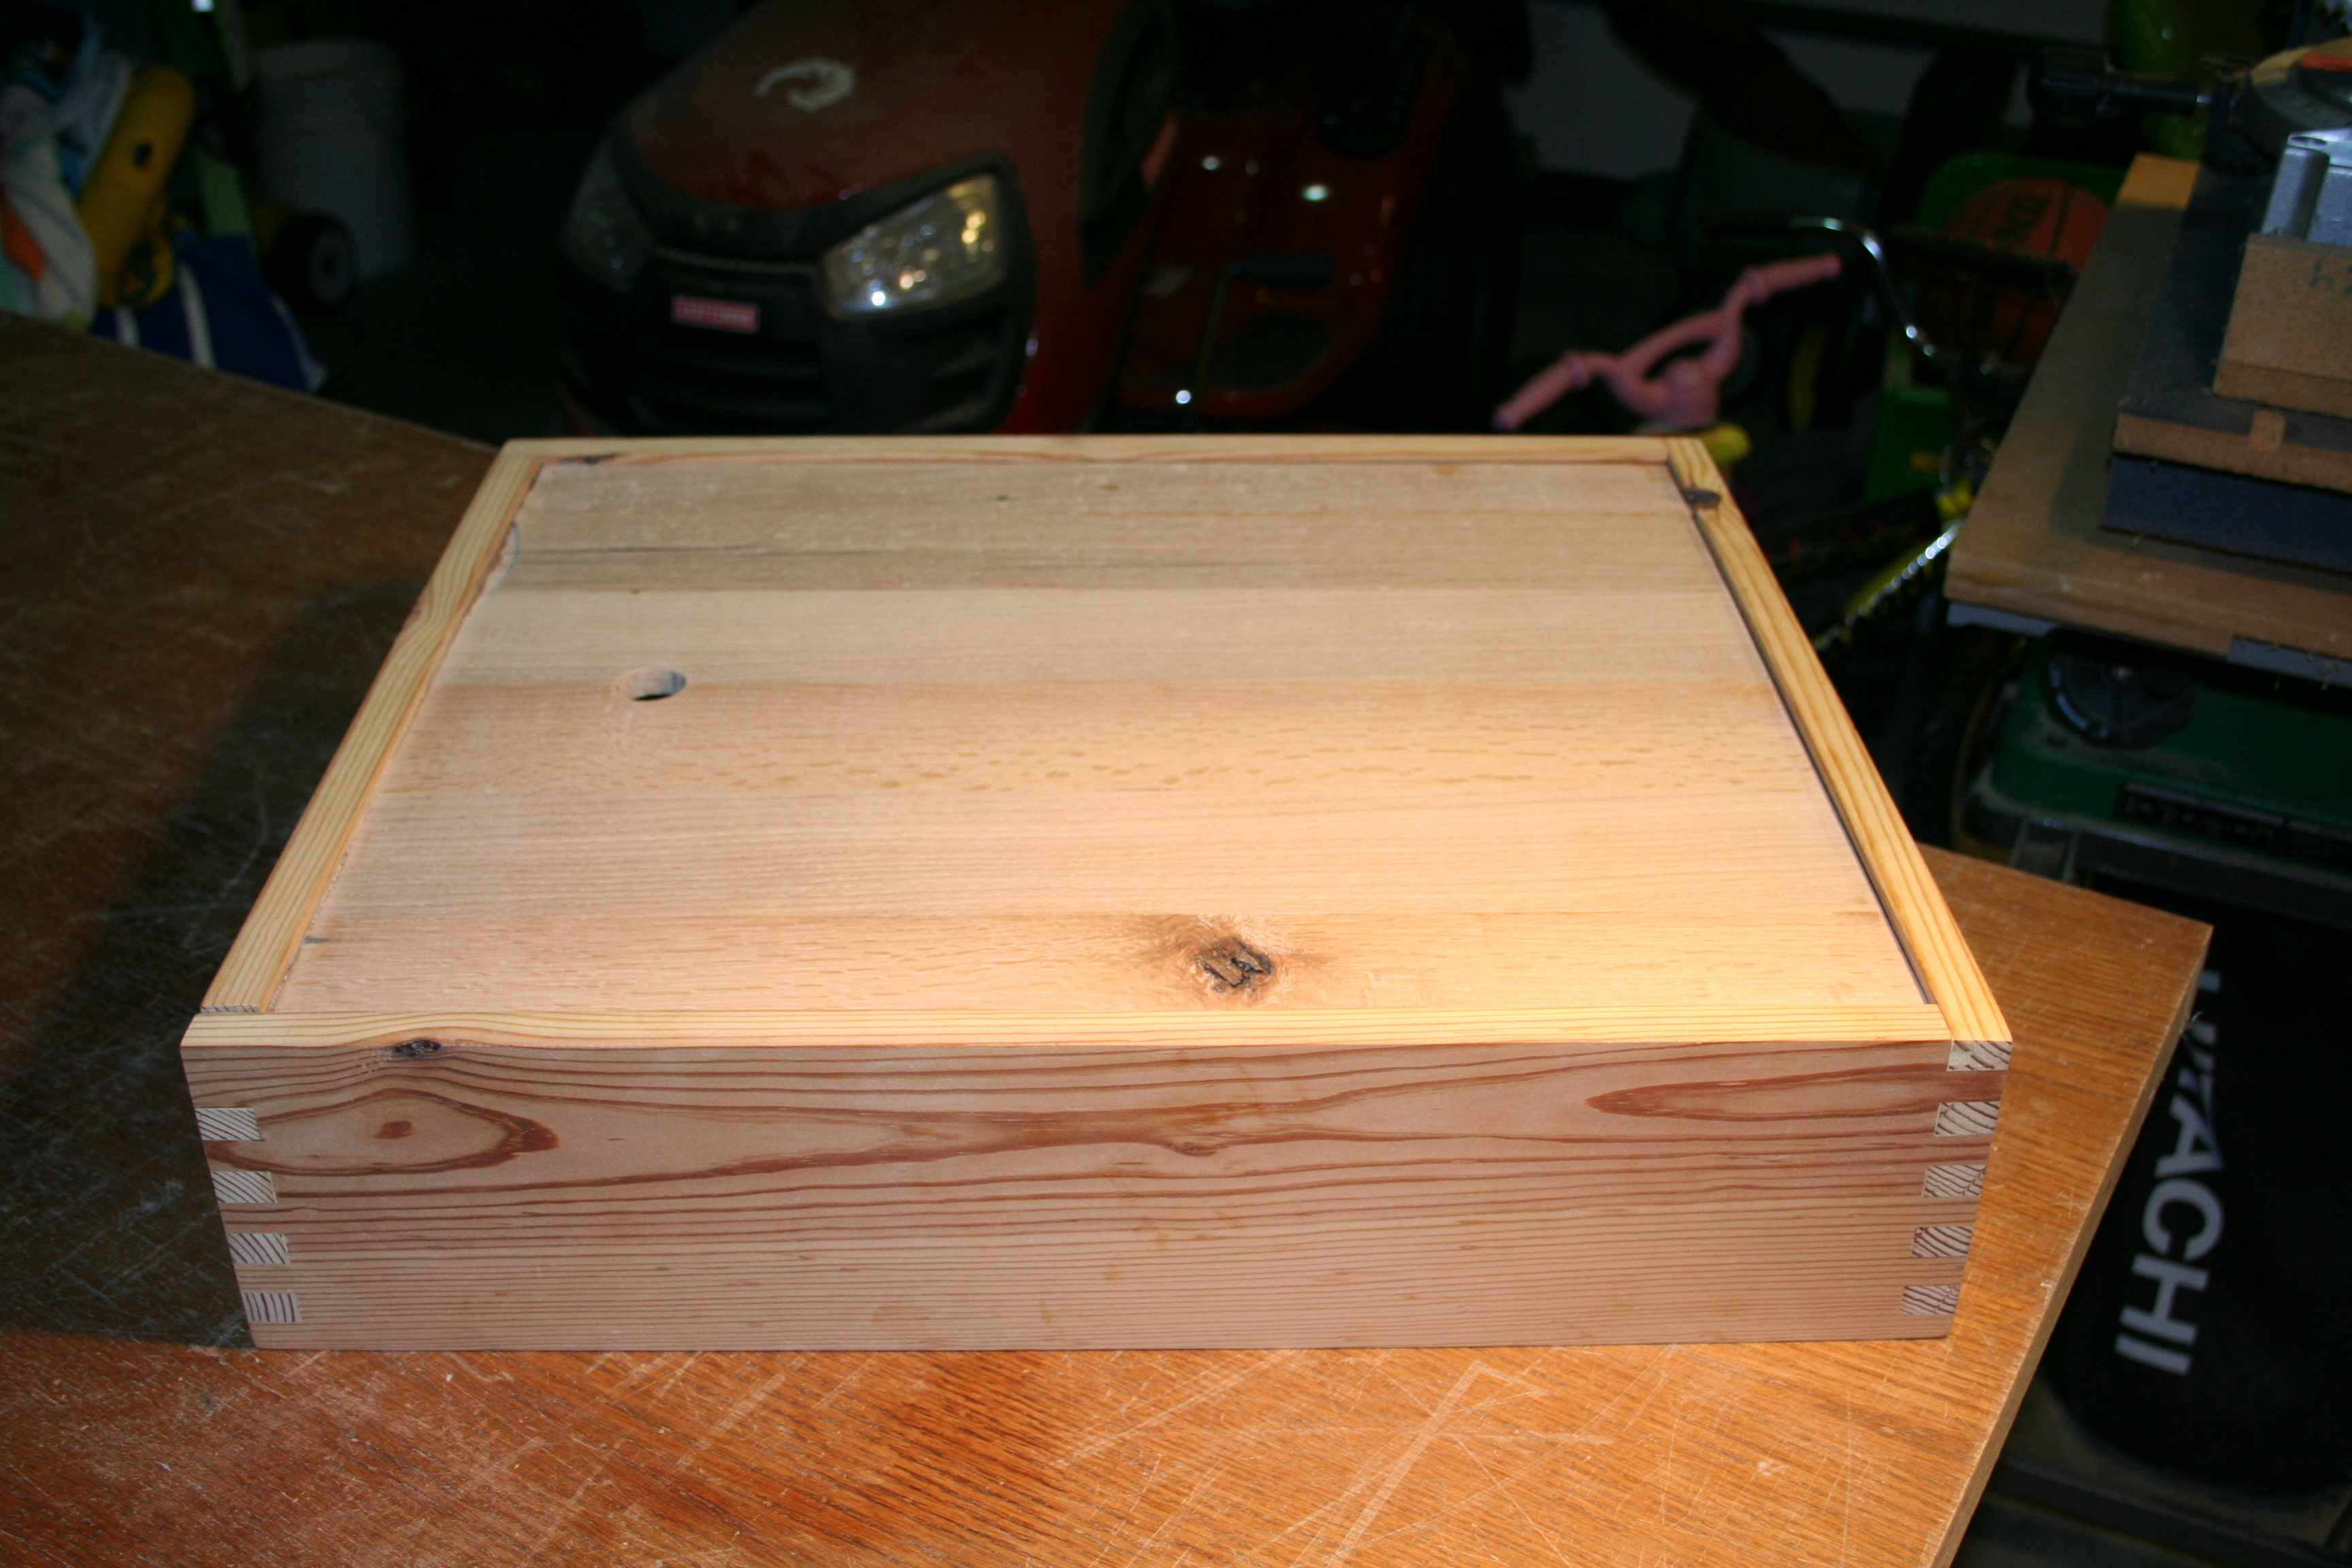
I wanted the all the pieces to fit together snugly and somewhat like a puzzle that would hold itself together. This is the final result- click for the full size pic:

The internal dividers are all from the pallet slats, which turned out to be what I think is white oak. The sliding lid in the background was made from the slats as well. Several passes through the planer, along with some cleanup work with a jack plane and several sheets of sandpaper made it look presentable.
The faces of the interiors dividers were cleaned up with a wire brush, but otherwise left as I found them. The block in the middle with the stamp is the pallet mark. I joined two of the thicker runners together and hollowed out the middle for a handhold. The u-shaped holder was made from two slats glued together. The grain of the slats was such that it made excellent material to glue together- the wood readily absorbed the glue and even when clicking the picture and looking at it full size, it is almost hard to tell that the u-shaped holder didn’t start out as a single piece of material.
There is a small slot in the bottom of the upper divider to catch the end of the pull bar, along with a few small wooden stops here and there made to hold the tool components in place after everything is in the box.
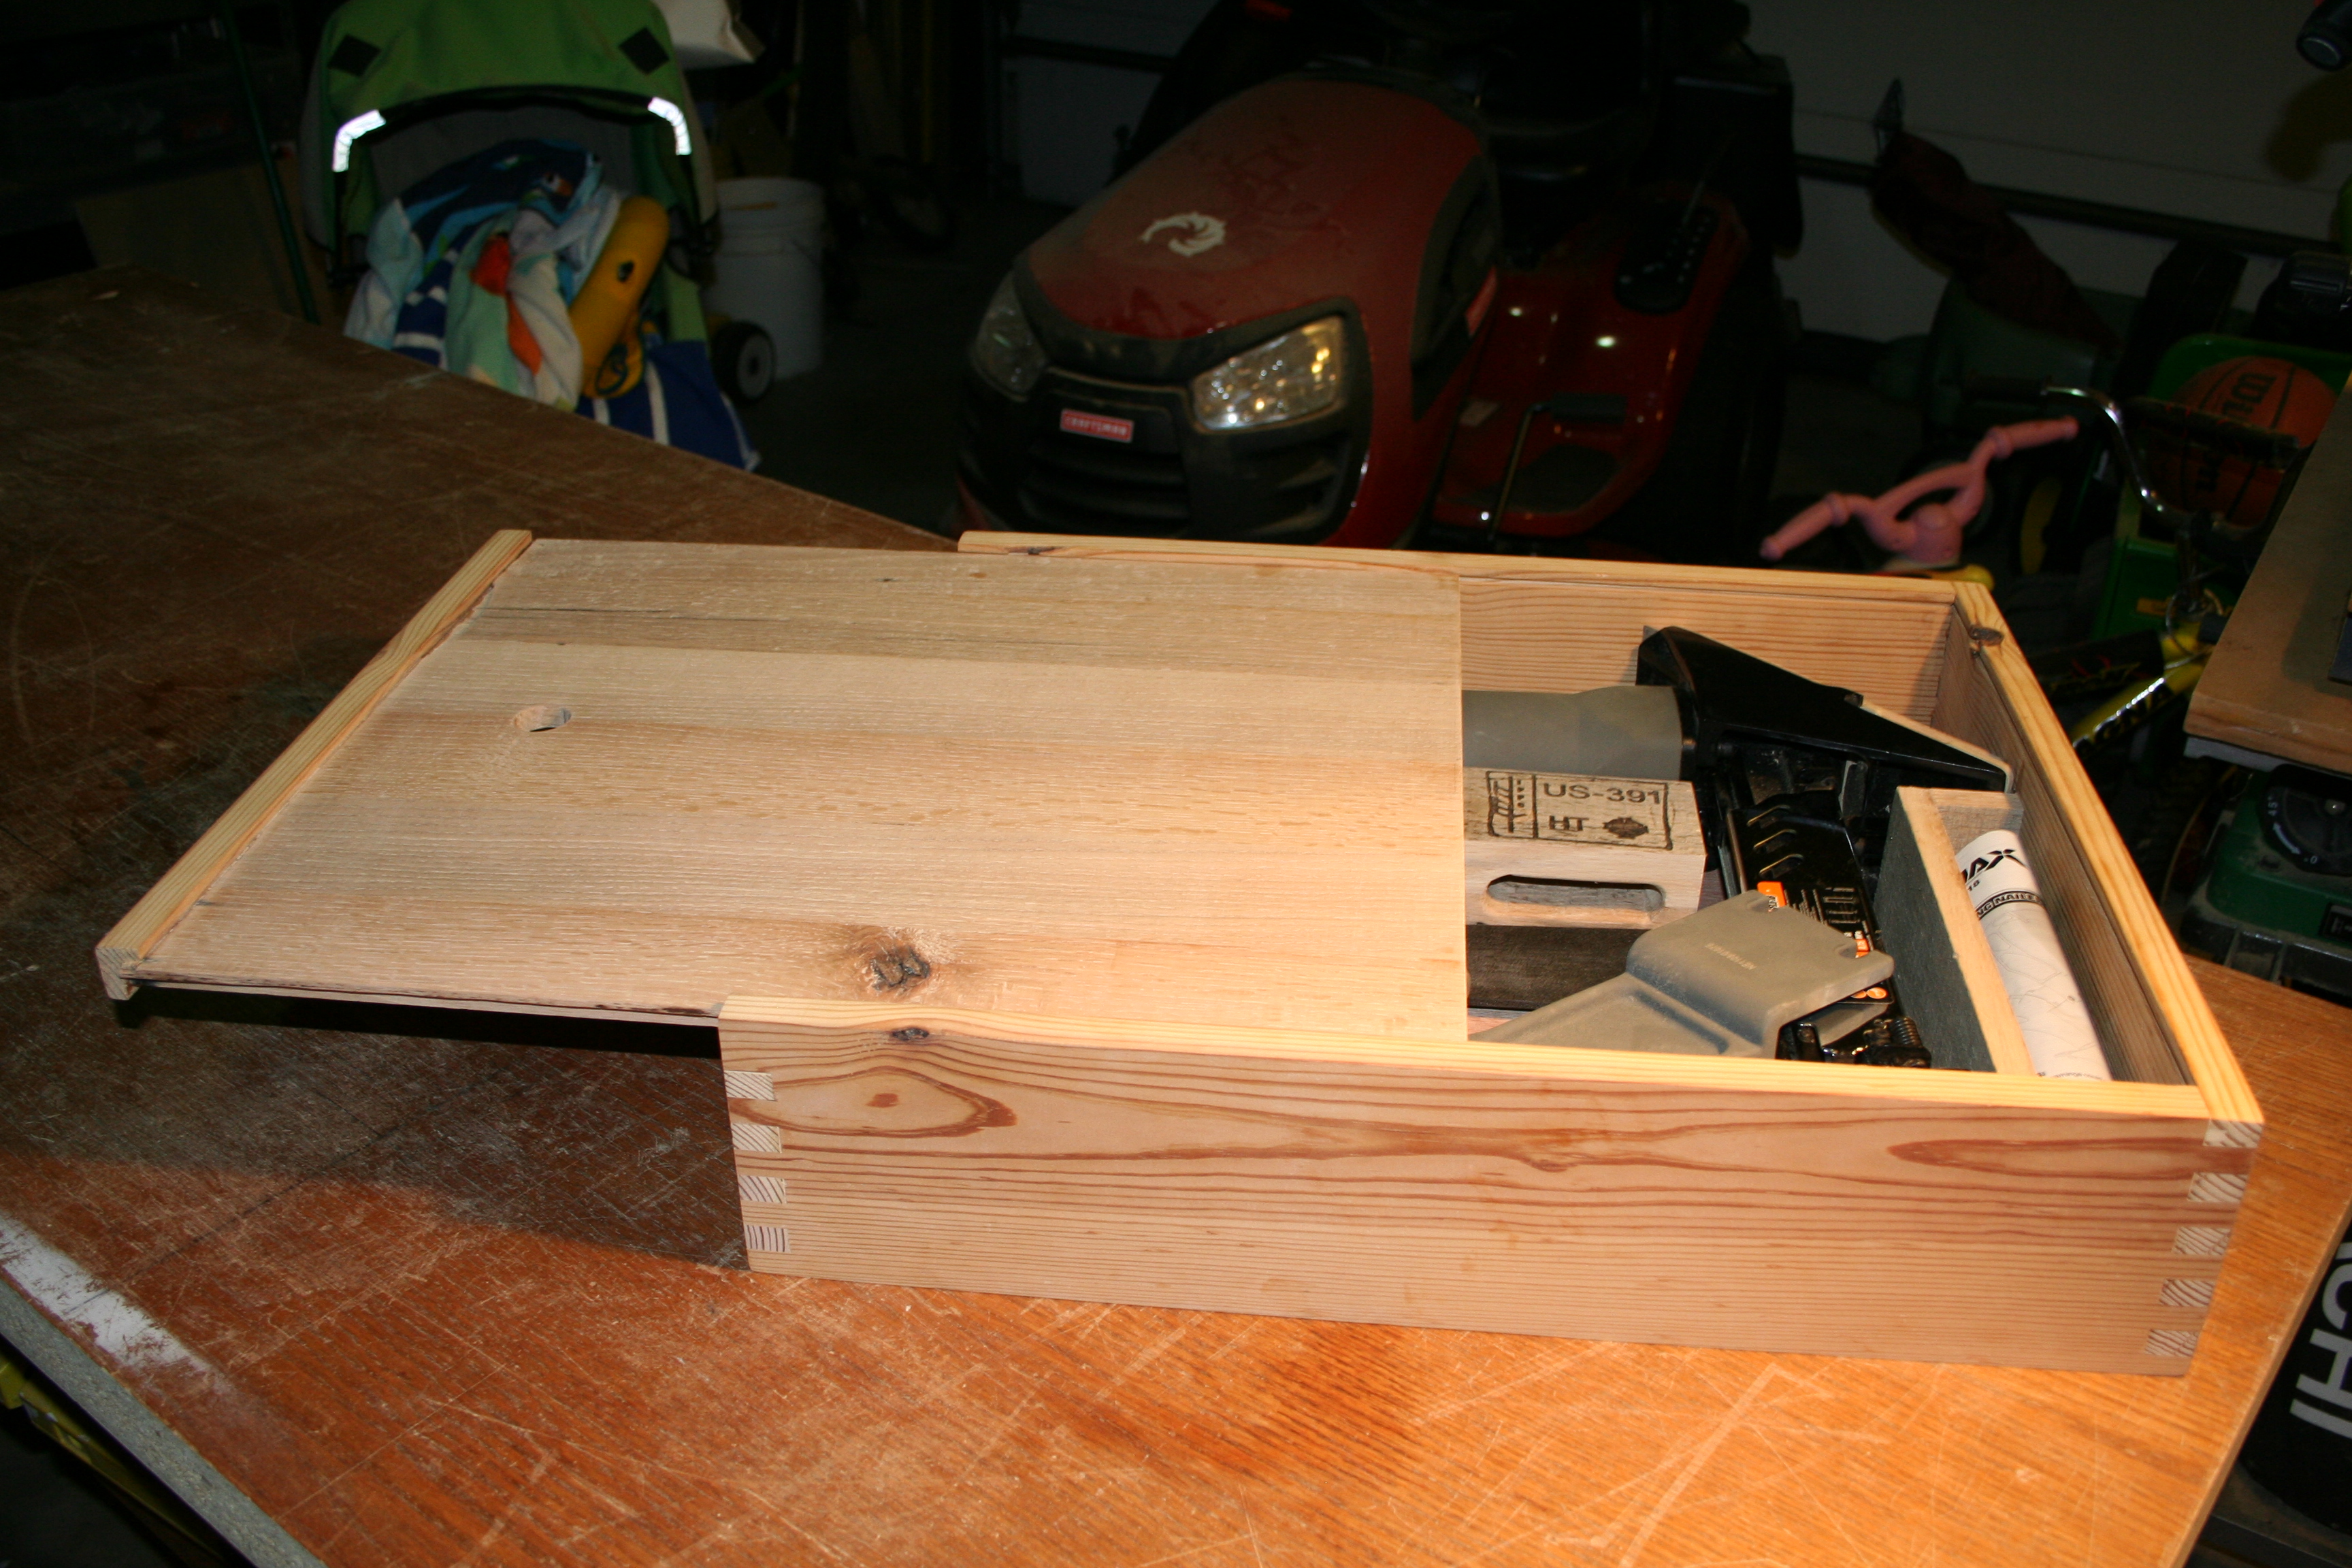
When everything is in the box, it pretty much locks itself together:

In the whole case, there are only a few small nails, all where the end grain of the inside dividers wasn’t going to give a good gluing surface. The extra foot for the nailer, seen under the top right corner, just below the box of cleats, is held in place by a small screw to the side of the case. Other than that it is just wood and glue.
The sliding top was cool in theory, but it wouldn’t make it into version 2.0 of this box as currently built. The sliding action isn’t very smooth and likely not too durable either. For this case, and for a tool that isn’t going in and out of the box very frequently, it was fine. I really like the way it looks, especially considering it was made using that pallet shown up at the top of the post.
NB: My understanding is that HT stamp in that block inside the case stands for Heat Treated, meaning (hopefully) that the pallet wasn’t chemically treated and it was relatively safe to work with cutting and sanding tools. I used a respirator mask and safety glasses for most of the work, just to be safe.
Pingback: Dining room project | Unknown Dog
Pingback: Scrap wood box | Unknown Dog